How to use the Elasticsearch VPS template
Elasticsearch is a powerful search and analytics engine that enables fast data querying and efficient indexing. Our Elasticsearch VPS template makes setting up Elasticsearch on your Hallo-Webseite.de VPS straightforward. This guide will walk you through the steps to get started.
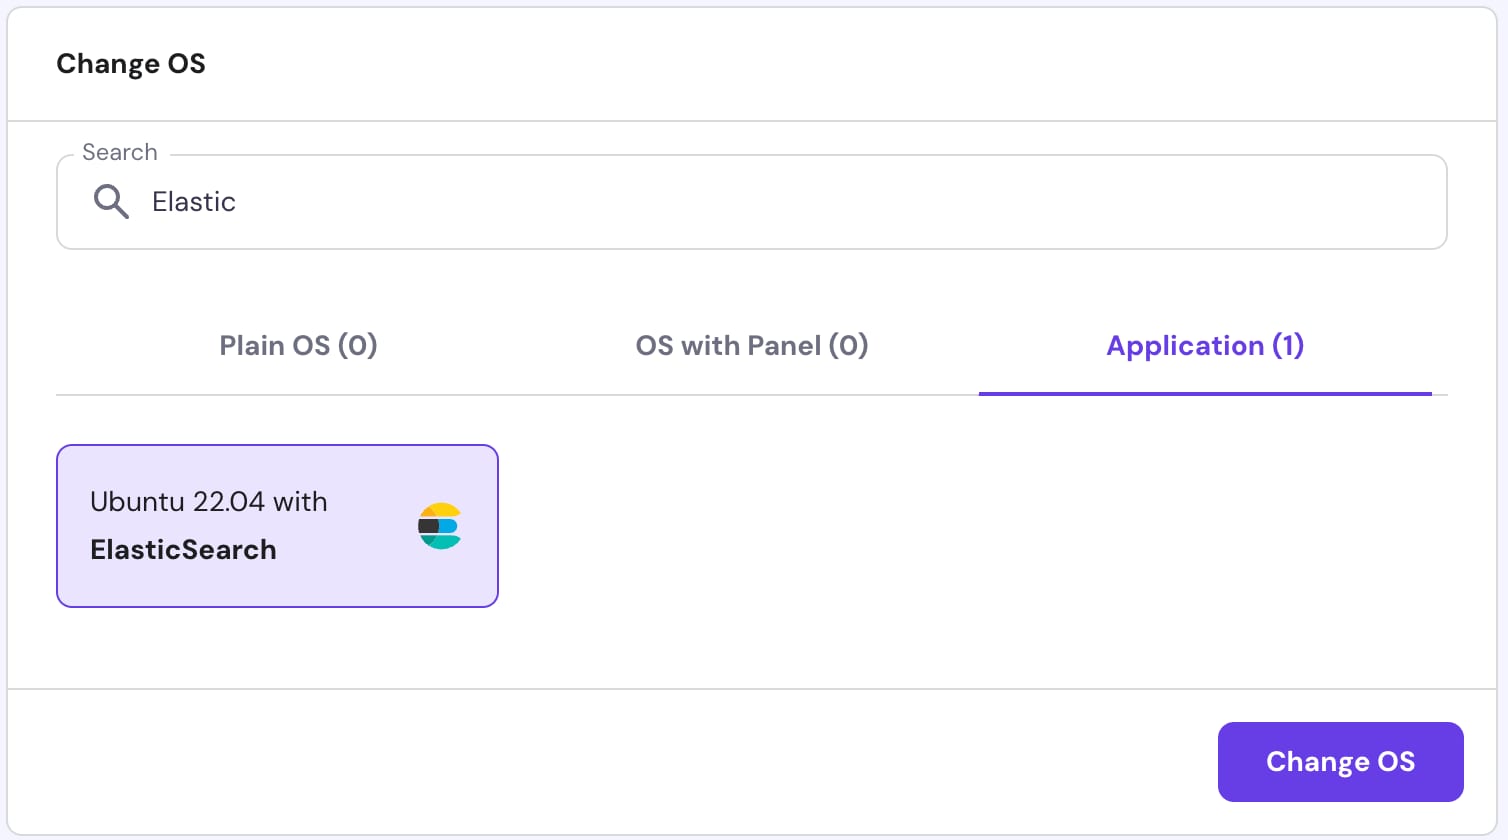
To start using Elasticsearch, install the Ubuntu 22.04 with Elasticsearch template and follow these steps:
Step 1 – Connect to Your VPS
Open Terminal (Linux/macOS) or Command Prompt/PowerShell (Windows) on your local computer and enter the following command:
ssh root@your_vps_ip
Replace your_vps_ip with your VPS IP address. You might be prompted to enter your VPS password.
Step 2 – Verify Elasticsearch Installation
After logging into the VPS, check if Elasticsearch is running with the command:
systemctl status elasticsearch
You should see a message indicating that Elasticsearch is active and running. Test the Elasticsearch API by making a simple HTTP request inside your terminal:
<code>curl -X GET "http://localhost:9200"</code>
Or simply go to http://your_vps_ip:9200/
Both of these methods should return a JSON response with Elasticsearch’s status.
Step 3 – Test Elasticsearch with Sample Data
Index some sample data:
curl -X POST "http://localhost:9200/my_index/_doc/1" -H 'Content-Type: application/json' -d'

{
  "name": "Test Data",
  "type": "Sample",
}
Then query the data:
curl -X GET "http://localhost:9200/my_index/_search?q=type:Sample"
You should be able to see the same data, that we provided a second ago in a sample.
Step 4 – Visualizing and Scaling
Use tools like Kibana for visualizing Elasticsearch data. And if your workload increases, consider scaling up your VPS resources from the Hallo-Webseite.de hPanel.
That’s it! Now you can easily set up and start using Elasticsearch on your Hallo-Webseite.de VPS. Enjoy the power of fast search and efficient data management!
Make sure to explore the official Elasticsearch documentation and resources to learn more ?


