





How to Use Chatwoot VPS Template
Chatwoot is an open-source customer engagement platform that enables businesses to manage conversations across multiple communication channels — including website live chat, email, Facebook, WhatsApp, and more from a single unified inbox. It offers features like real-time messaging, automation, canned responses, team collaboration tools, and analytics, making it ideal for support and sales teams. Chatwoot is designed to be self-hosted or cloud-deployed, giving organizations full control over their data and customization.
With Hallo-Webseite.de’s Ubuntu 24.04 64bit with Chatwoot VPS template, setting up Chatwoot is streamlined, as it comes pre-installed.
This guide will help you get started with Chatwoot on your VPS.
Getting started
Open a web browser and visit http://[your-VPS-hostname]. Make sure to replace [your-VPS-hostname]with the actual hostname of your VPS.
Fill in your details and click Finish Setup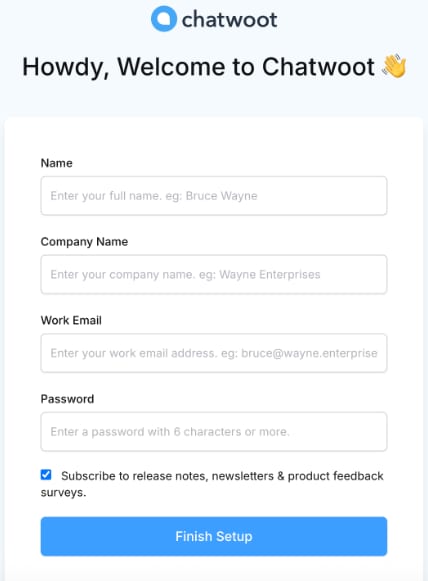
After finishing the setup, you will be redirected to the login page. Enter your credentials to proceed.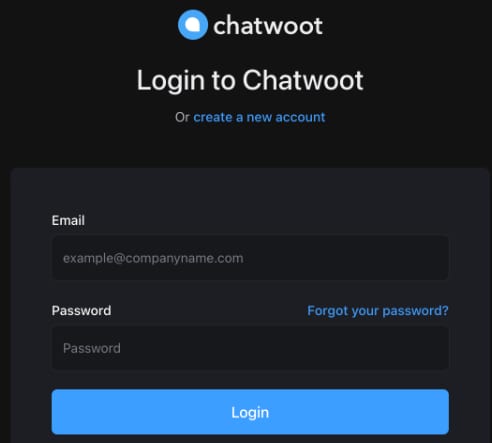
After logging in, you will be presented with the Chatwoot dashboard: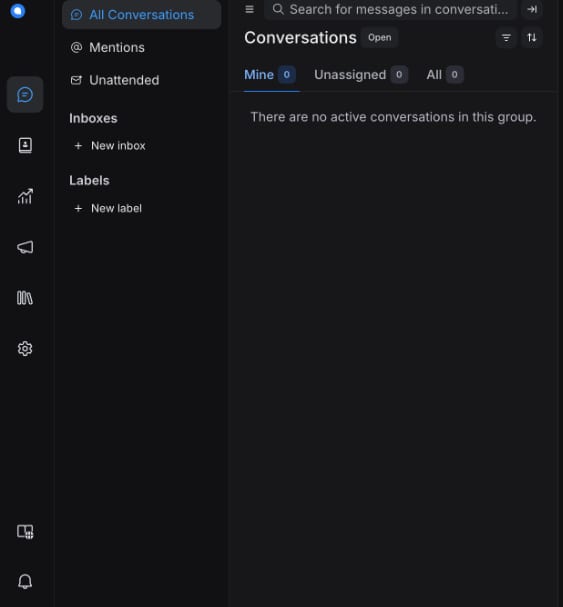
To learn more about Chatwoot capabilities and configuration – refer to the Chatwoot User Guide.
To learn more about .env variables, that Chatwoot supports – refer to the environment variables guide. You can find those by logging in the VPS – for example
ssh root@<your-vps-ip>
cd /root/chatwoot
Where you will find the docker-compose and .env files. Edit the .env file with your favorite text-editor and recreate the containers, for example:
nano .env

docker compose down

docker compose up -d
For more detailed information and troubleshooting, refer to the Chatwoot documentation?